Database
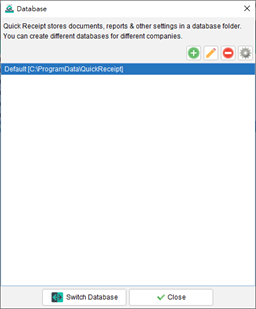
Quick Receipt efficiently stores your company’s documents, reports, and settings in a dedicated database folder. You have the flexibility to create multiple databases, each catering to a different company. To seamlessly manage your databases, navigate to menu “File > Switch Database.”

By default, Quick Receipt includes the first database named “Default.” To add a new database, simply click the [+] button. To switch to a different workspace, highlight the desired database and click the [Switch Database] button at the bottom.
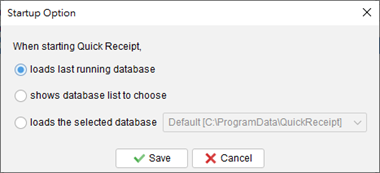
When starting Quick Receipt software, it will load last running database by default. User may change startup settings by clicking Settings button at the top-right corner.

